Sometimes Google Chrome users get this Error – err_cache_miss. Don’t worry, this is a common error for Google Chrome browser users.
here we will discuss all these errors and know how to solve these errors. let’s start.
Table of Contents
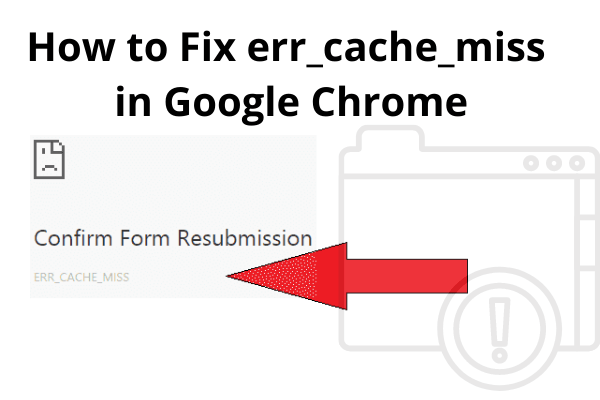
What is err_cache_miss? | Error – “Confirm Form Resubmission”
Sometimes, In the Google Chrome browser, we search any website then the browser shows the error of-
Error – “Confirm form resubmission“
Why Google Chrome shows the error “err_cache_miss”?
The Error comes from cached files. When we browse any website URL the Google chrome stores some cache files & cookies from these websites.
How to Fix err_cache_miss | Confirm form resubmission
There are 2 easy ways to solve the error problem
You have to follow these steps-
- Clear History, Cookies, And Cache
- Reset Network Settings
Solution No.1- Clear History, Cookies, And Cache
We should always keep cleaning the browser data and history of our computers. With this, we can safe from hacking and other online frauds.
It is a very simple step to clear browsing data of computer browser. Follow these steps-
At the right side corner of your computer screen you will find a three-dot, just click on this. You will see the setting option click on it-

Click on – Clear Browsing Data

Now checkmark on all options –
√ Browsing History
√ Cookies and other site data
√ Cached images and files

Click on “Clear Data”
It will take some time. After some time refresh your computer and now you can browse that website.
Solution No. 2- Reset Network Settings
Follow this steps
Click on the start window
Search program files
type “cmd” – or right-click on this and now click on “Run as Administrator”
A black screen will be open –

Now type this code-ipconfig/release and press the Enter key
( Example – C:\windows\system32> ipconfig/release [ Press Enter Key ] )
Follow these steps same -now continuous add this different type highlight code and enter
now again type this – ipconfig/all and press the Enter key
ipconfig/flushdns and press the Enter key
ipconfig/renew and press the Enter key
netsh int IP set dns and press the Enter key
netsh winsock reset and press the Enter key
Now type “Exit” and press the Enter key
Now restart your computer the problem is solved.